How to Roll an L-Skin Joint
This rolling method allows you to make the perfect personal sized joint out
of small rolling papers. You can also try it with large papers once you’ve
got the hang of it.
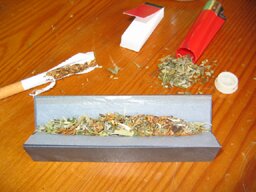
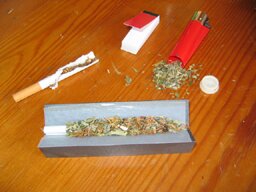
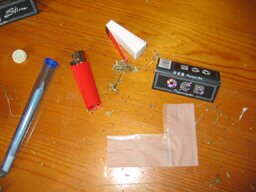
You will need:
- Rolling papers
- Roach material
- Herb and tobacco mix
- Grinder or scissors
Step-by-Step:
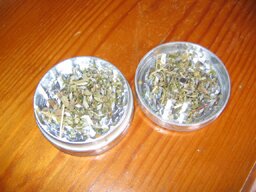
1. Make sure your mix is well ground. It’s best to use a grinder for
your herbs or if you don’t have one you can use scissors. Mix your herbs
and tobacco together.

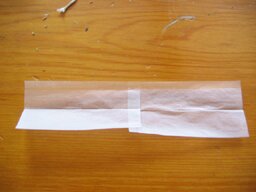
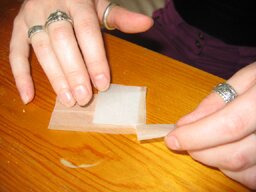
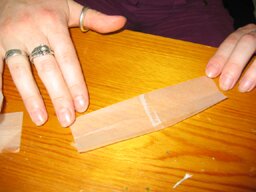
2. Take 2 papers and stick them together at a right angle (L-shape). Make sure
that the gums are both facing upwards (not facing your table or surface) and
that they are both on the inside of your plan. (See diagram.)
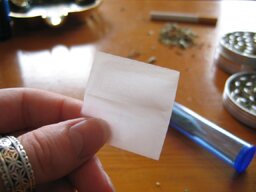
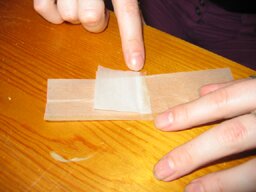
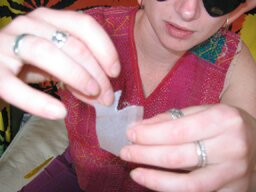
4. Fold down the top right hand corner of the vertical paper so that the gum
strip is still exposed. Lick along the fold and tear it off. This makes rolling
easier and cuts down the amount of paper you inhale.

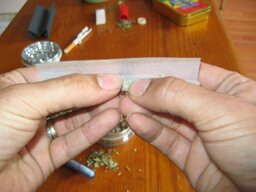
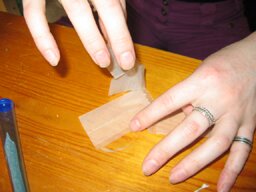
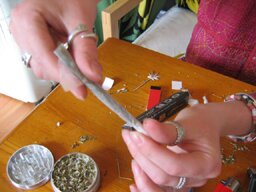
5. Make a fold in your papers to hold your mix in place before you roll it up.

6. Spread your mixture along the papers and add your roach at the slim end.

7. Pick up the joint and roll from the middle outwards. (See How To Roll A One Skin Joint for more rolling tips.)
8. Tuck down the paper and ensure that the gum strips are facing you. Roll the
excess paper around the joint, wet the gum and seal it up.
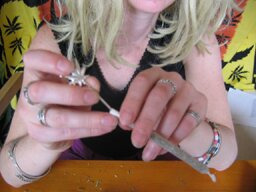
9. Finally, pinch the excess paper at the end of your joint and twist it. This
way you won’t lose any of your mix and it ensures your joint is tight
enough.


If you like this article, you can find loads more tips and tricks about the art of joint rolling in these fantastic books: The Joint Rolling Handbook & The Joint Rolling Handbook 2, available at all good headshops.
Of course, if you just want the finished product and you’re not fussed about perfecting the rolling process yourself, you can always buy a rolling machine to do the job for you! No hassle, saves a lot of time and delivers the perfect joint every time. Available in regular or kingsize at good headshops and tobacconists.